How to add Contacts and Sub-Accounts to your Krystal Client Area
Contacts are added to allow additional people to receive copies of communications (e.g. invoices sent to your accounts department).
Contacts can additionally be activated as Sub-Accounts and this then also allows them to log-in to your Krystal Client Area with the permissions you assign.
Add a new Contact
Log in to your Krystal Client Area.
- Click the "New Contact" button on the right side of the screen.

- If this is the first Contact then Add New Contact will be selected by default and you can just continue to add the details. If Contacts already existing you'll need to select Add New Contact and click the Go button.
Enter the details. First Name, Last Name, Email Address and Phone Number are required.

We will cover Activate Sub-Account in the next section - for now, we will just add a contact.
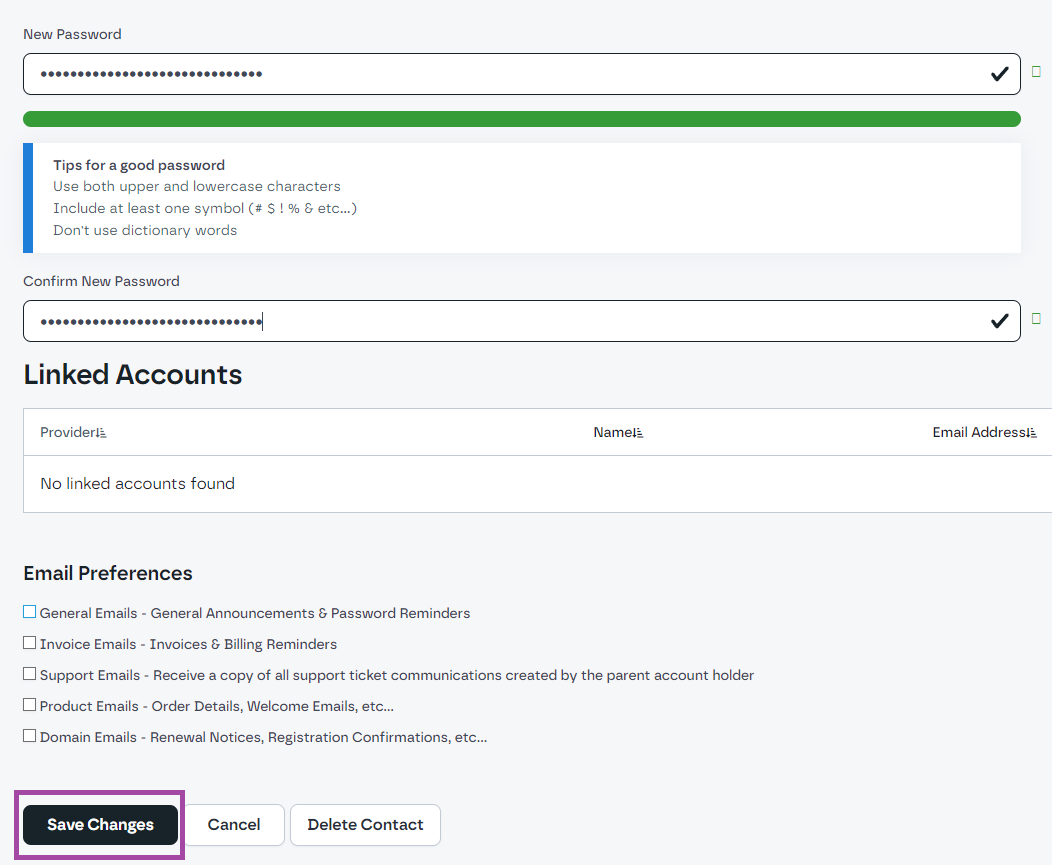
Complete the remaining address details and if required tick which communications this contact will receive.

Click Save Changes to save this contact.

Making a contact a Sub-Account
- Select your chosen contact from the right side of the screen.

- Tick the Activate Sub-Account checkbox.

In doing so the Sub-Account Permissions details will appear further down the form underneath the address details.
Select the required permissions by ticking the appropriate boxes and entering and confirming a password.

- Click the Save Changes button at the bottom to complete the process. This contact will now be able to login to the Krystal Client Area using this email address and password.

- * *
- * *
Updated on: 24/01/2024
Thank you!