How to configure Onyx DNS for Office 365 email
Finding your Office 365 DNS records
Log in to your Microsoft 365 Admin center.
- From your Microsoft 365 admin center, click Setup > Domains from the left-hand menu.

- Click on Add Domain and type in your domain name when prompted.

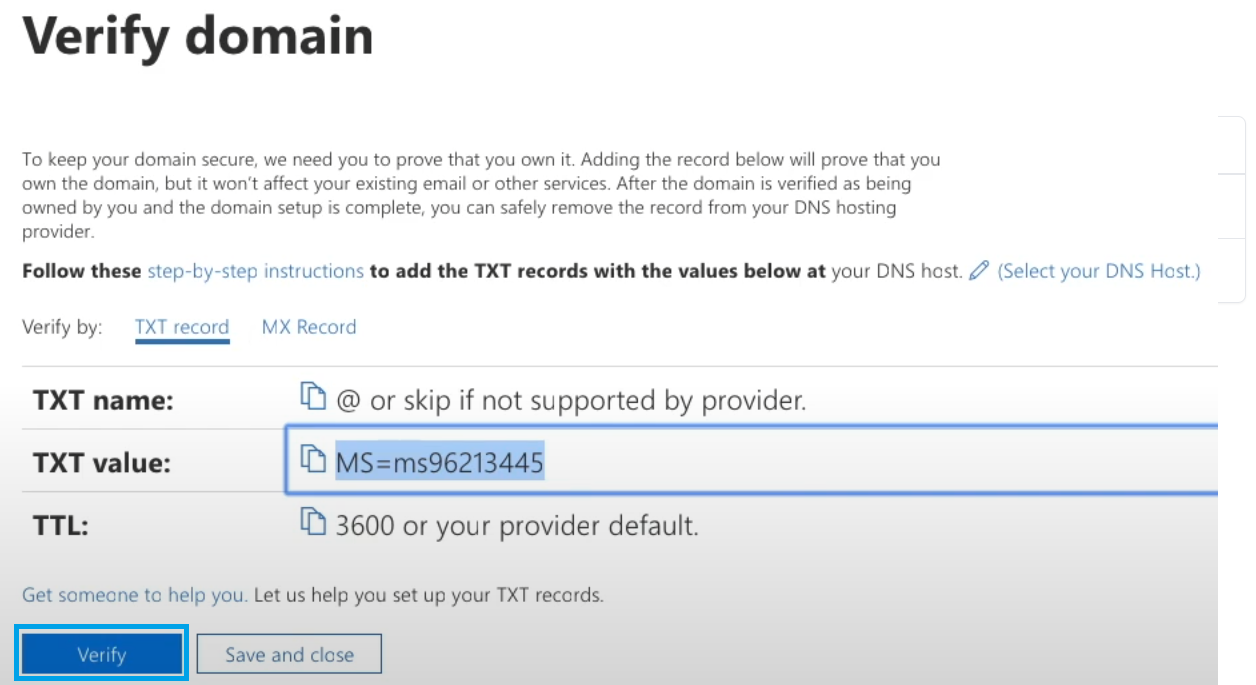
- You should see the "Verify domain" screen. This is in place to prove that you control the domain. Make note of the TXT record shown.

Adding your TXT verification record to Onyx
- Log in to your Onyx Dashboard
- Click on the site you wish to add the TXT record to

- Click on the DNS dropdown. Select the domain you wish to add this record to.

- Click the option to Add another record

- Change the Type to TXT and enter the TXT value that has been provided to you in your Microsoft 365 admin center.

Verifying your Domain name
- From the “Verify Domain” screen in your Microsoft 365 admin center, click the Verify option.
Adding your DNS records
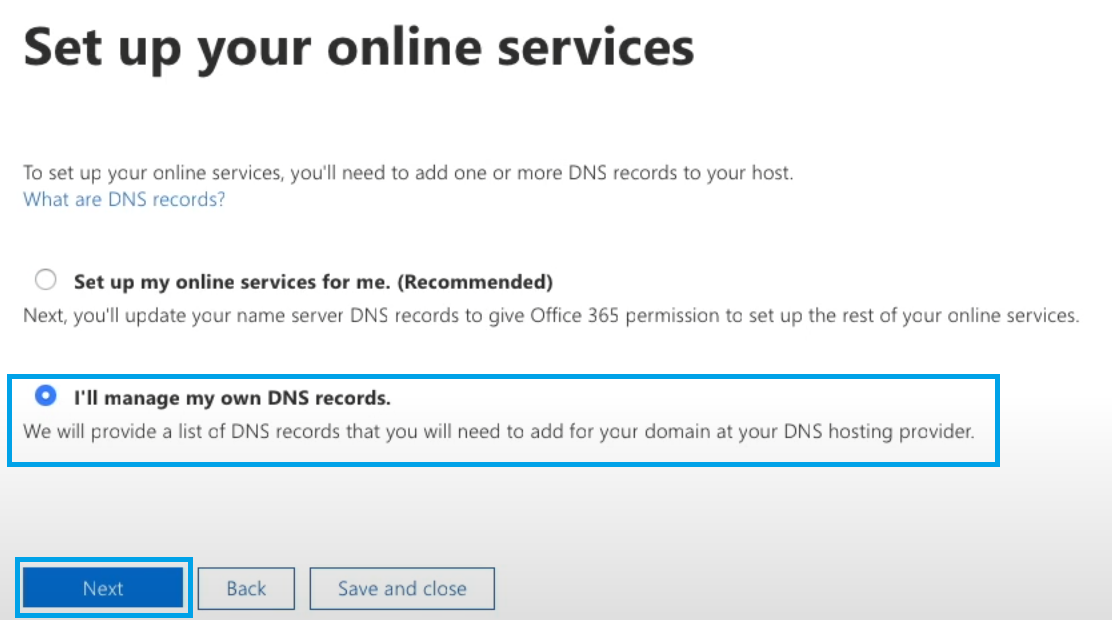
- Once your domain has been verified, you will see the "Set up your online services" screen. Select I'll manage my own DNS records and click Next.
You will then be asked to "Choose your online services". This should set to Exchange. Once Exchange has been selected, click Next.

You will then be provided with a list of DNS records to add to Onyx. These domains will be added to your domain within your Onyx dashboard, and we have an easy to follow guide that covers adding additional records to your domain.
- * *
- * *
Updated on: 24/01/2024
Thank you!